|
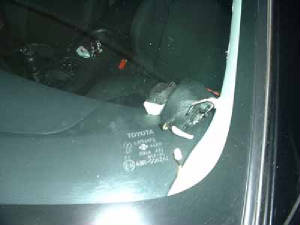
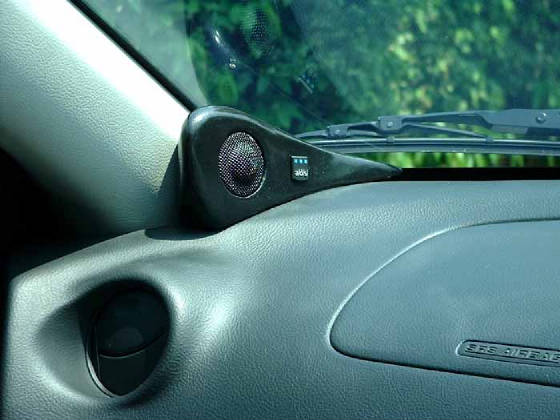
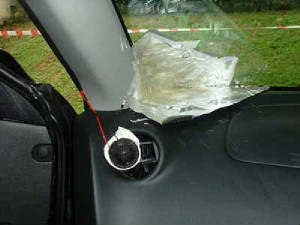
Locate the intended position.
Protect the surface using musking tape and aluminium foil. Make sure
there is 100% no seepage for the nasty resin; or else you will regret later!
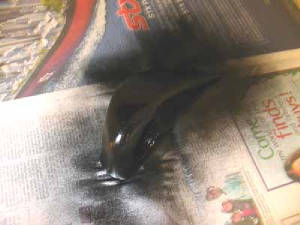
First layer of resin and fibreglass mat laid. Take about 1/2 day
to harden and dry with moderate amount of hardener and the dame 34 degress C weather with 60% humidity. In sheltered area,
did not park the car under the sun.

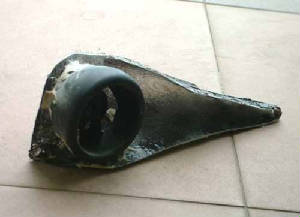
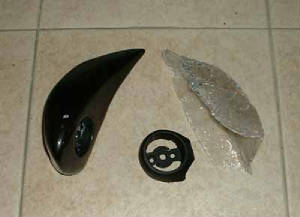
Gently lift and take out the harden fibreglass and trim the unwanted
areas off.
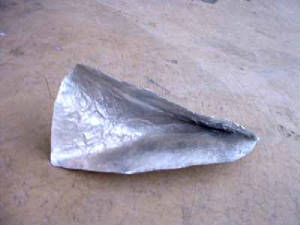
Peel the remaining aluminium foil and apply 2 more layers of fibreglass.
Do the necessary sanding of the edges and this is how it appear eventually.

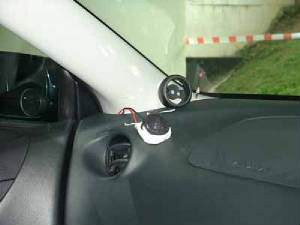
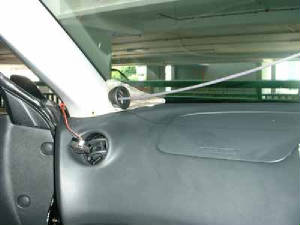
Apply a little glue to the tweeter mounting rings to hold
it in position. I use Bostik Liquid Nail. Tie a robe to the tweeter ring and use it to correct the firing position of the
tweeter. Once finalised, apply more gule to the tweeter ring and let it set overnight.

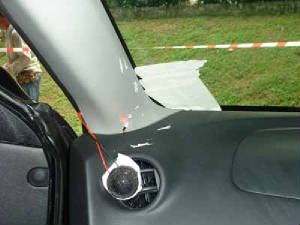
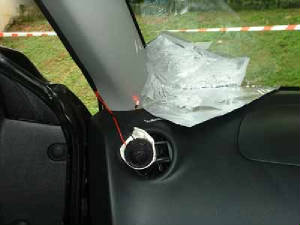
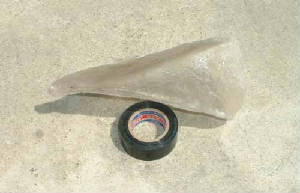
Determine the desired shape by making a tentative placement. I laid
clear musking tape on the outside windscreen so that a black marker can be sued to sketch the desired shape. Once done, further
cut/sand the fibreglass to shape and get ready for the next moulding.
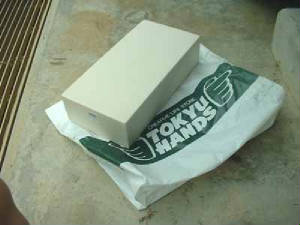
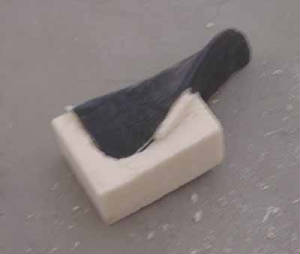
This is a block of semi-hard foam that is extremely useful for shaping.
It's a bit like automotive designers doing clay modeling for their design.
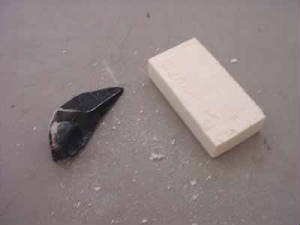
Bit by bit, cut the foam into smaller pieces with the necessary trimming
to fit into the fibreglass.
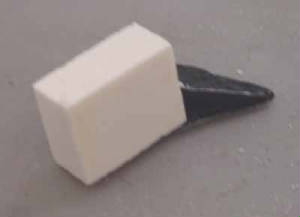
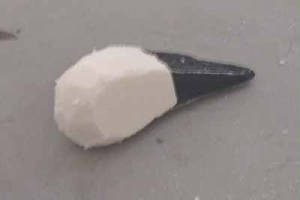
Once the foam is in place, it's time to do the shaping and styling
using sand paper.
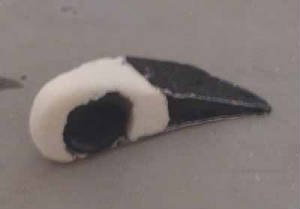
More resins and fibreglass mat are laid to cover up the pod entirely.
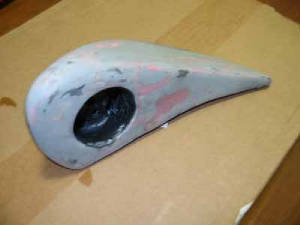
Once completed, I used 2 different types of patty for the foundation
and completion, hence the 2 colours in the picture. The pink patty is figreglass patty and the grey is automotive bodywork
patty.
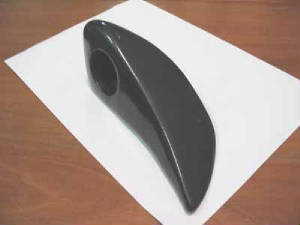
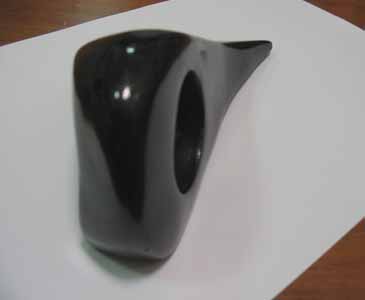
Sand the pod to shape and finess before getting ready for spray job.
I've chose black colour to match the dash and car. To make it sparkle
more, I actually use Micra Black, then lacqure spray and polish with Auto Glym to a perfect shine!
Once the left tweeter pod is done, it time to move on the the right.
The same process but should take a lot less time the second time around.
|